Starting Your At-Home Worm Compost System

This year, we have all been united in the collective experience of the global Covid-19 pandemic, a year that has brought so much change, unpredictability and unexpected gifts. While the pandemic has brought distress and havoc to all of our lives, it has also granted the gift of time at home.
Perhaps you, like many of us, have used this opportunity to pick up that book that has been collecting dust on the shelf, experiment with new dishes in the kitchen, or take up new mindfulness practices. Now, a year into the pandemic, maybe you have exhausted these practices and are looking for a new project to tackle--if so, we’d love to recommend some gardening and sustainability practices you can try at home!
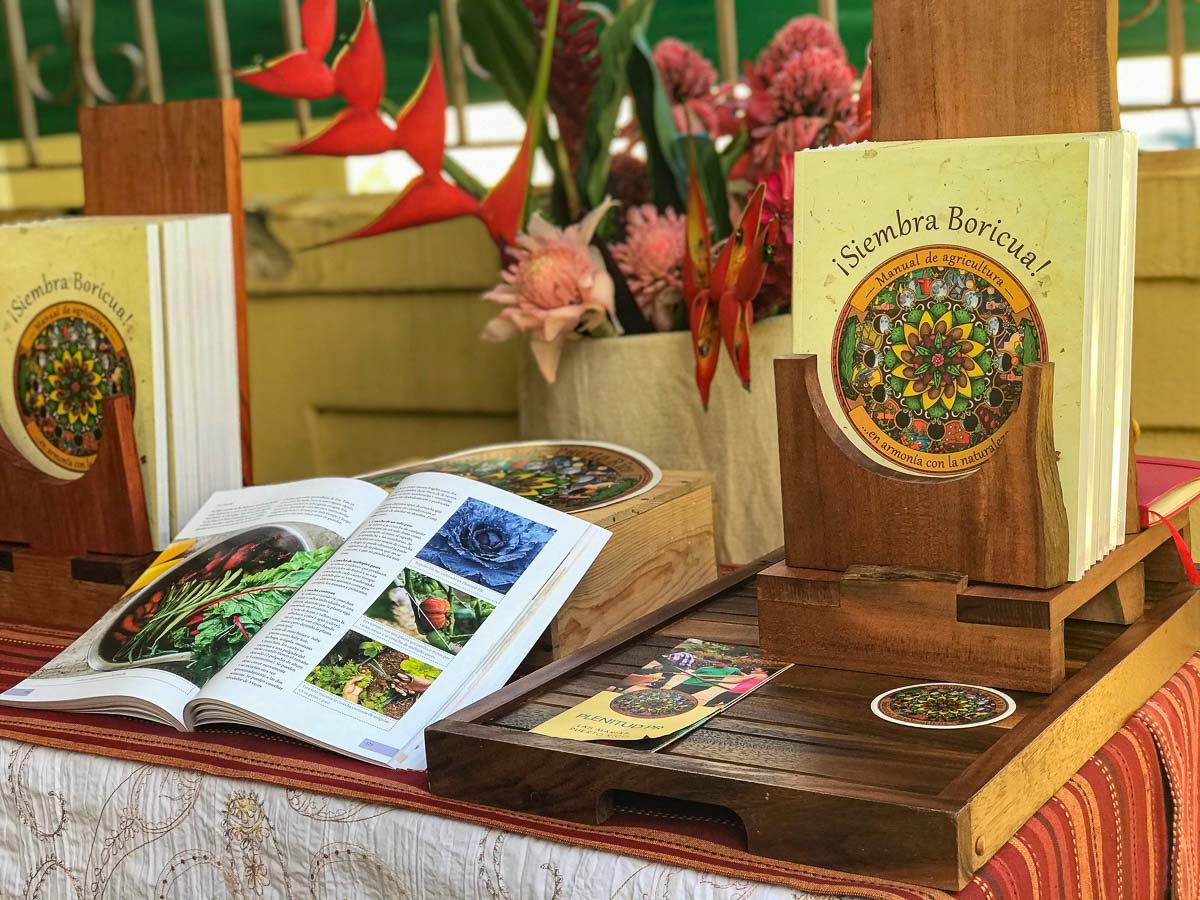
Our tropical agroecology manual ¡Siembra Boricua! Manual de agricultura en armonía con la naturaleza is filled with detailed lessons in the areas of permaculture, rainwater management, food production, soil health, and vegetarian cooking. Whether you are a college student trying to adopt a more sustainable lifestyle, like me, or an experienced farmer or gardener, the manual gives you the confidence to tackle a variety of at home projects, like vermicomposting. Have you heard of it?!

Me holding worms from our Plenitud PR worm bin.
Vermicomposting is a method of composting that uses worms to convert food waste into nutrient dense castings. Not only are their castings rich with minerals and micronutrients such as magnesium, calcium, and nitrates, but the worm's skin produces a mucus that kills toxins and bad bacteria like E. coli, creating a scrumptious and nutritious compost smoothie for your plants.
Why Vermicompost?
Vermicomposting has numerous benefits. It reduces food waste, can be used as a natural fertilizer in your home garden, can be done in the comfort of your own home, gives you a product you can use much faster than other methods of composting, and is a great educational tool for both kids and adults to learn about biological processes and ecosystems. Also, who doesn’t want pet worms?!
If you still aren't convinced about these wondrous, food-munching companions, I don’t blame you. I once found vermicomposting, while very interesting, to be a daunting project to take on myself. But in college I learned that many of my friends were starting their own bins under their sinks in their apartments or dorms. I saw how they were able to greatly reduce their food waste this way, and once the bin was set up, it required minimal maintenance and the benefits were remarkable!
When I came to Plenitud PR, I saw how vermicomposting could be done at a larger scale and again, required very little maintenance with numerous benefits. I learned to make worm compost teas using our manual and when I began applying it to our plants I saw how their leaves took on richer colors, grew larger in size, and were more resilient in the face of disease.
Keep reading to learn about how you, too, can reap all the benefits that worms can bring!

How To Start Your Own Worm Bin
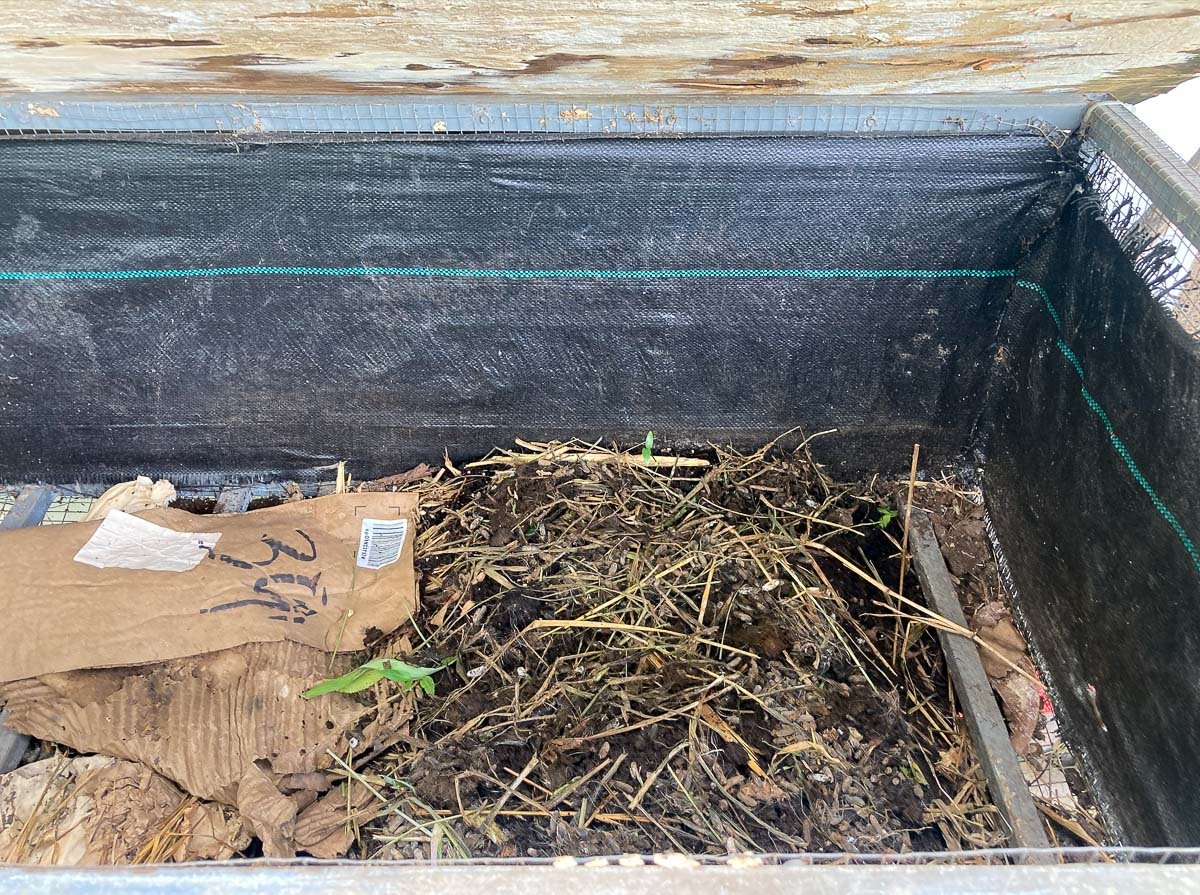
To start vermicomposting you will first need to build the environment in which your worms will live, a worm bin. To build your bin, you only need three basic items:

Some of our Red Wiggler (Eisenia fetida) worms. We have about 200 worms in our system!
A shallow plastic bin --12”-18” in depth with 1 sq ft of surface area per pound of food scraps a week. Make sure you drill pencil-sized holes on the bottoms, sides, and lid of your bin for airflow and good drainage.
Bedding -- shredded newspaper, cardboard, brown leaves, straw, old saw dust or coconut fiber.
Worms! -- It is important that you buy Red Wiggler (Eisenia fetida) worms as they are able to consume and digest large amounts of organic matter and thrive in shallow enclosed environments unlike other species. Also note that 1lb of worms consume about 3 lbs of food scraps per week.
Did you know that Red Wigglers can eat up to 75% of their own body weight a day?
Preparing your Bin
First, you want to moisten your bedding and distribute it evenly at the bottom of the bin (6-8” deep). It is important to make sure that there is no excess water at the bottom of the bin.
Gently place your worms in the bin and disentangle any clumps that you might find.
In one corner of the bin, lift up a layer of bedding and place food scraps. Cover them back up with bedding.
Cover your bin with its original lid or a loose dark sheet.
Choose the location of your bin. Place your bin in an area where it is easily accessible and the worm environment can stay moist and dark (under kitchen sink, garage, etc.)
….and in a few months you will have everything you need to directly fertilize your home garden or make your own compost tea! You can find more information about that process in the Manual.
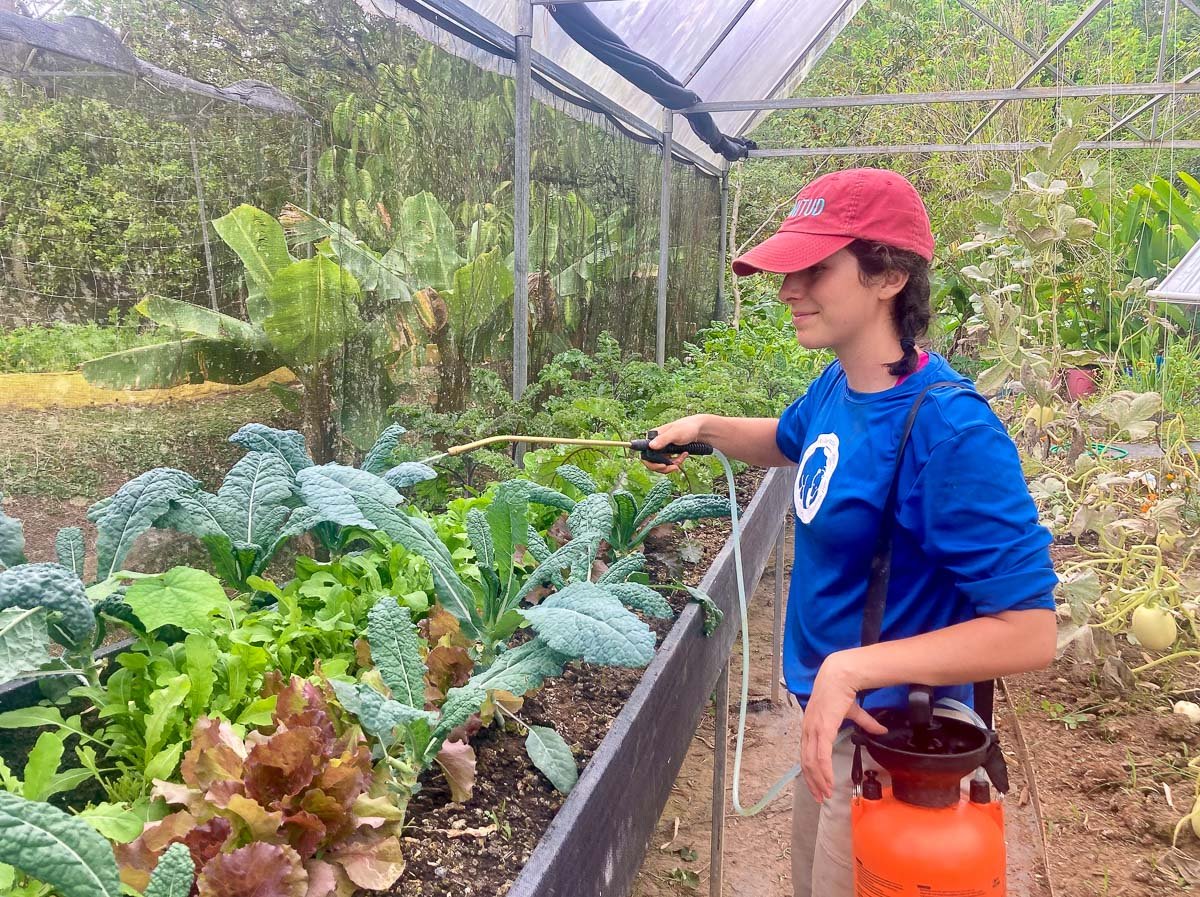
Me spraying our garden beds with compost tea made from the worm compost. Compost tea is a nutrient, microbe rich solution you can apply to your plants!
Feeding Your Worms Do’s and Don'ts
Do chop up food scraps in tiny pieces that make it easier for worms to consume
Do feed your worms raw vegetable and fruit scraps such as peels, leaves, cores, pulp, rinds, and garden scraps
Do feed your worms cooked vegetable leftovers
Do feed your worms clean and pulverized egg shells
Do feed your worms starchy food waste such as bread, cake, oatmeal, and pasta
Do feed your worms coffee and tea grounds, tea bags, leaves, and filters
Do rotate feeding corner with each addition of new scraps (clockwise)
Don’t feed your worms pet manure, dairy products, meat, fish, bones, fatty/oily foods citrus fruits, garlic or onion
Don’t over feed your worms especially in the beginning as they are getting accustomed to their new environment (Depending on how many worms you have and the size of your bin, this amount will vary. Use the notes in the How To Start Your Own Worm Bin section to calculate the appropriate amount).
You did it! Now it’s time to enjoy the company of your new worm friends and a food waste free lifestyle! It is important to give lots of love and attention to your worms in the first weeks to get to know what they do and don’t like to eat and troubleshoot any problems that might arise (ex. more bedding is needed).
You can continue learning more about worms, vermicomposting, and how to use your food scraps to make fertilizer in ¡Siembra Boricua! You can purchase your own copy through our website. Happy composting!
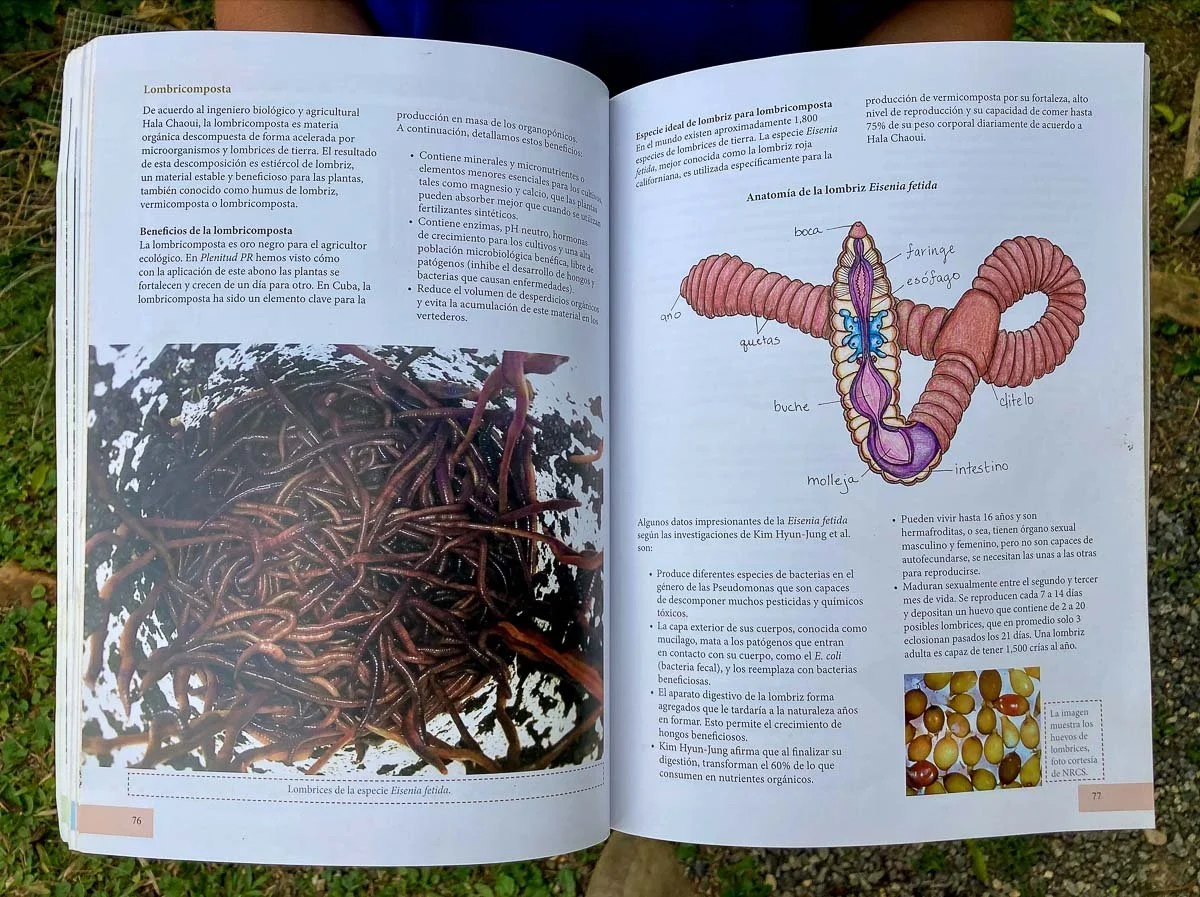
The vermicomposting section in ¡Siembra Boricua!
